
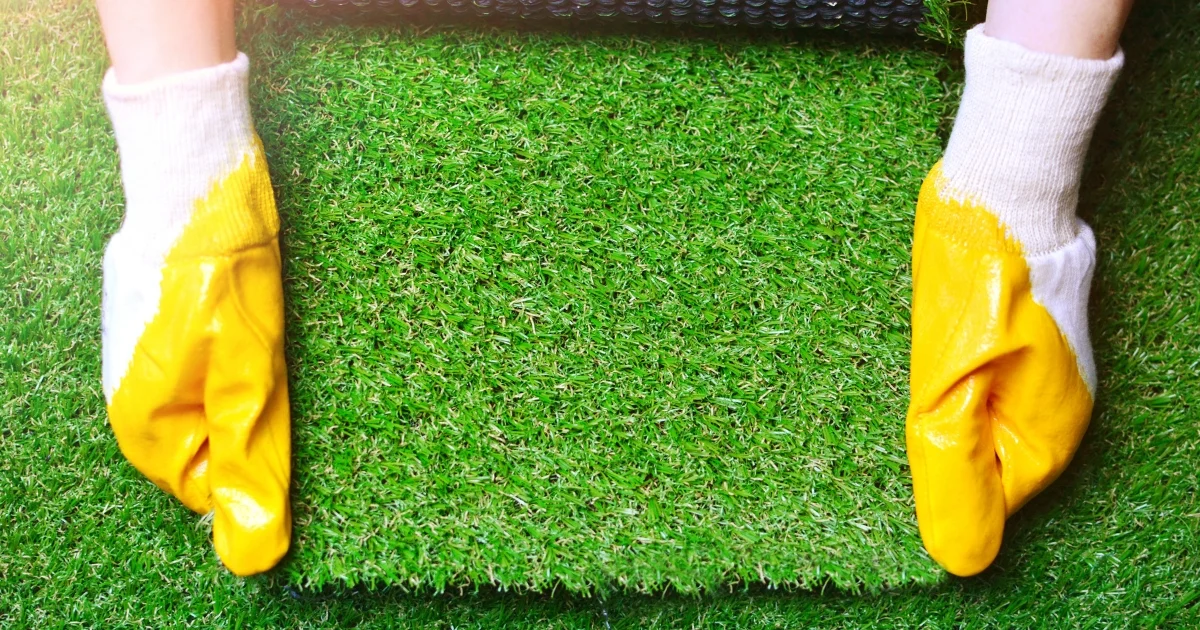
Installing artificial grass on soil can transform your outdoor space into a low-maintenance, drought-friendly oasis that stays green year-round. For Southern California homeowners tired of brown lawns and rising water bills, understanding how to lay artificial grass on soil offers a practical DIY solution that saves thousands in professional installation costs. The key to success lies in proper soil preparation and drainage planning—skip these steps, and you’ll face pooling water, uneven surfaces, and premature turf failure within months.
This guide walks you through the complete process of artificial grass installation on dirt, from assessing your soil type to securing the final edges. Whether you’re working with clay soil in Anaheim or sandy ground in Huntington Beach, you’ll learn the drainage solutions for synthetic turf that prevent costly mistakes and ensure your investment lasts 15–20 years. We’ll cover the essential tools, materials, and DIY turf laying techniques that separate successful installations from failed projects, plus when it makes sense to call in professional help for challenging conditions.
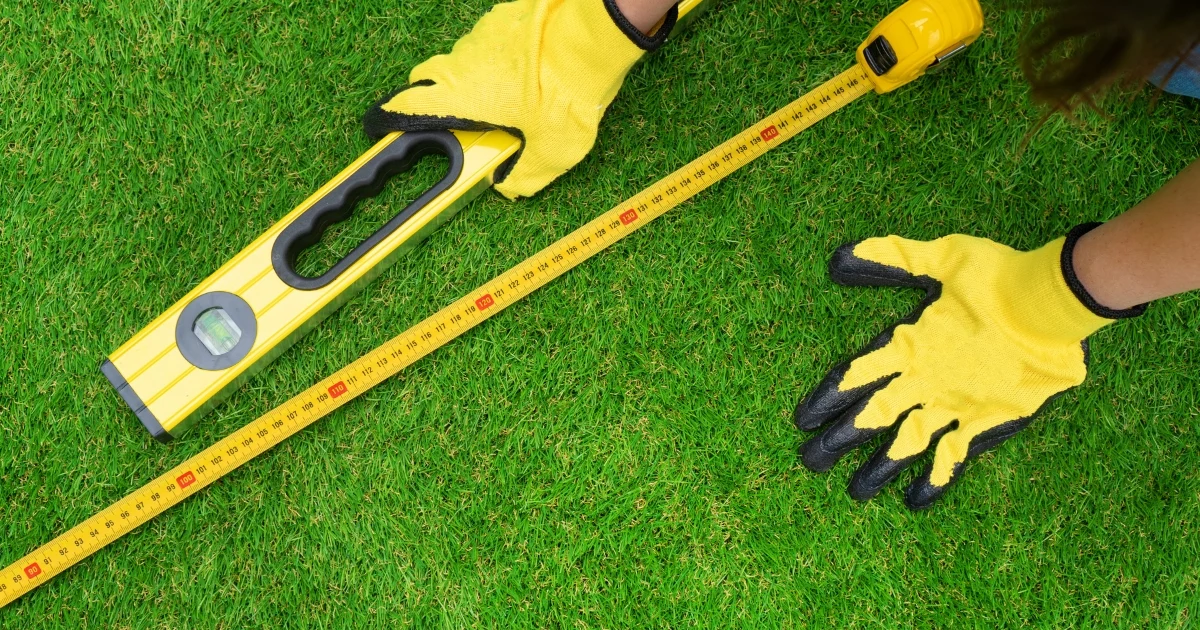
Assessing Your Soil Type and Preparing the Ground for Artificial Turf Installation
Before you purchase a single roll of turf, identify your soil type—clay, sandy, rocky, or loam—because it directly impacts base depth and drainage requirements. Knowing how to lay artificial grass on soil starts with matching your base strategy to your specific ground conditions. Clay soil, common throughout Orange County, retains water and requires deeper base layers with aggressive drainage solutions. Sandy soil drains naturally but lacks stability, needing proper compaction to prevent settling. Rocky soil presents excavation challenges but often drains well once cleared. Loam, the ideal middle ground, still requires proper base preparation to support turf over time.
Excavation Depth and Slope Requirements
Start your soil preparation for fake grass by excavating 3–4 inches below your desired finished grade. For clay soil artificial turf installation, increase this depth to 4–5 inches to accommodate additional drainage rock. Remove all roots, large rocks, and organic debris.
Establish a slight slope away from structures—aim for a 1–2% grade, which translates to about 1–2 inches of drop per 10 feet. Compact the exposed soil with a hand tamper for small areas or rent a plate compactor for spaces larger than 200 square feet. Proper compaction now prevents settling that causes wrinkles and drainage problems later.
Essential Base Materials and Drainage Solutions for Synthetic Grass on Dirt
The base layer serves as the foundation for your entire installation, providing drainage, stability, and a smooth surface for the turf. Common artificial lawn base materials include Class II road base, crushed drain rock (3/4-inch-minus), and decomposed granite, though crushed drain rock offers superior drainage for clay soils. The angular edges of crushed rock lock together when compacted, creating a stable surface with air pockets that allow water to flow through rather than pool on top.
When learning how to lay artificial grass on soil, install landscape fabric directly on the compacted soil before adding base material. This weed barrier prevents growth from below while allowing water to drain through. Pour your chosen base material in 2-inch lifts, raking smooth before compacting each layer. For a typical installation, plan on 3–4 inches of base material, increased to 4–5 inches for clay soil or high-traffic areas.
Understanding what tools are needed for artificial grass installation helps you budget and plan efficiently. Here’s your complete materials and equipment list:
- Crushed drain rock or decomposed granite
- Landscape fabric or commercial-grade weed barrier
- Plate compactor (rent for $75–$100 per day or purchase for $300–$600)
- Leveling rake, flat shovel, and wheelbarrow
- Sharp utility knife with extra blades for cutting turf
- 5- to 6-inch galvanized nails or turf staples (one per linear foot of perimeter)
- Seaming tape and adhesive for joining multiple pieces
- Infill material (silica sand or antimicrobial infill for pet areas)
| Soil Type | Recommended Base Depth | Best Base Material |
|---|---|---|
| Clay soil | 4–5 inches | Crushed drain rock (3/4-inch-minus) |
| Sandy soil | 3–4 inches | Decomposed granite or Class II road base |
| Rocky soil | 3–4 inches | Crushed drain rock or decomposed granite |
| Loam soil | 3–4 inches | Class II road base or decomposed granite |
Step-by-Step Installation Process: Laying and Securing Artificial Grass on Soil
Once your base passes inspection, apply these how to lay artificial grass on soil techniques for professional results. Unroll the turf and let it relax in the sun for 2–3 hours—this removes wrinkles from shipping and makes it easier to work with. Position the turf so the blade direction faces toward your primary viewing angle, typically toward the house or main gathering area.
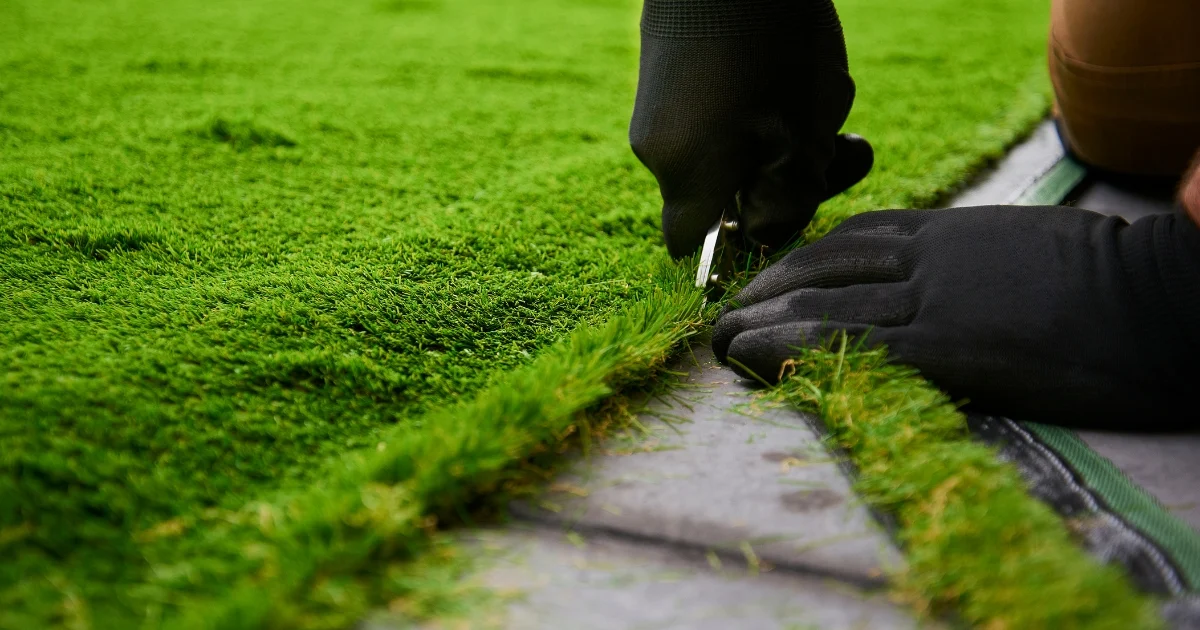
For areas requiring multiple pieces, plan seams perpendicular to the primary viewing angle. Cut turf from the back side using a sharp utility knife, following the stitch lines rather than cutting through backing and blades. This technique creates invisible seams when pieces are joined. Leave 2–3 inches of excess around the perimeter for final trimming after the turf is secured.
Follow these critical steps to ensure professional results:
| Installation Step | Critical Success Factor | Common Mistake to Avoid |
|---|---|---|
| Turf positioning | Blade direction faces viewing angle; all pieces run same direction | Mixing blade directions creates visible color variations |
| Seaming | Edges butt together with no gap or overlap; seam tape centered underneath | Leaving gaps allows base material to show through |
| Securing edges | Nails every 6–8 inches around perimeter; 12–18 inches in field | Under-nailing allows edges to lift in wind or heat |
| Infill application | 1–2 pounds per square foot spread evenly; brush against grain | Skipping infill leads to matted blades and poor drainage |
Securing Techniques and Edge Restraints
Start securing from the center and work toward the edges, pulling the turf taut as you go to eliminate wrinkles. Drive 5- to 6-inch galvanized nails or turf staples through the turf backing into the base, angling slightly toward the center of the installation. Space fasteners every 6–8 inches around the perimeter and every 12–18 inches in the field.
Apply infill material using a drop spreader for even distribution, working in perpendicular passes to ensure complete coverage. The infill weighs down the turf, helps blades stand upright, and improves drainage by creating channels for water flow. Walk the entire installation, checking for any areas that feel soft or show wrinkles, and address these immediately by adding more nails or adjusting the turf position.
Get It Right from the Ground Up with Professional Expertise at Go Turf Artificial Grass & Pavers
Understanding how to lay artificial grass on soil empowers you to tackle smaller projects with confidence, but knowing when to call in expert help protects your investment for larger or more complex installations. Poor drainage planning, inadequate base preparation, or improper compaction can turn your dream lawn into a maintenance nightmare within months.
Go Turf Artificial Grass & Pavers brings decades of experience installing artificial grass across Orange County, Huntington Beach, Anaheim, and surrounding communities. Our team assesses your specific soil type, designs proper drainage solutions, and installs your turf with warranty-backed craftsmanship that ensures 15–20 years of low-maintenance beauty. Contact us today for a free site evaluation and discover why homeowners throughout Southern California trust our expertise for artificial turf installations that last. Call now or visit our website to schedule your consultation and transform your outdoor space into a year-round green oasis.
FAQs
The following questions address common concerns regarding installing artificial grass on soil.
1. Can you lay artificial grass directly on soil without a base layer?
While technically possible for very small areas with excellent natural drainage, skipping the base layer almost always leads to drainage problems, uneven surfaces, and premature turf failure. A proper crushed stone base is essential for longevity and performance. This is why proper how to lay artificial grass on soil technique emphasizes base preparation above all else.
2. How much does it cost to install artificial grass yourself versus hiring professionals?
DIY installation typically costs $5–$8 per square foot for materials including turf, base rock, tools, and supplies. Professional installation ranges from $12–$18 per square foot including labor, equipment, and warranty coverage. The cost to install artificial grass yourself depends heavily on whether you already own compaction equipment and have experience with similar projects. Consider your skill level, available time, and project complexity when deciding which approach makes sense for your situation.
3. What type of base material works best for clay soil under artificial turf?
Clay soil requires excellent drainage solutions, so use 4–5 inches of crushed drain rock (3/4-inch-minus) with landscape fabric underneath. The angular rock creates air pockets for water flow, preventing the pooling and mud issues common with clay. Avoid smooth pea gravel, which doesn’t compact properly and allows shifting that creates uneven surfaces over time.
4. How long does artificial grass last when properly installed on soil?
Quality artificial turf with proper base preparation and drainage typically lasts 15–20 years in residential applications. The base layer is more critical to longevity than the turf itself, as poor drainage causes premature breakdown, wrinkling, and backing deterioration. Regular maintenance including occasional brushing and infill replenishment helps maximize the useful life of your installation.
5. Do I need to treat the soil before installing artificial grass?
Yes, apply a non-toxic weed killer 2–3 weeks before installation to eliminate existing vegetation and prevent regrowth. Install landscape fabric as an additional weed barrier during base preparation. This dual approach prevents weeds from penetrating through the turf backing and eliminates future maintenance headaches. Some installers also recommend treating for gophers or other burrowing pests in areas where they’re common, as their tunneling can create depressions in the finished surface.